CUPS Printer Installation
This explanation will use the web interface provided by CUPS. First, aim your favorite web browser at the CUPS server. The following screen should appear within your browser.
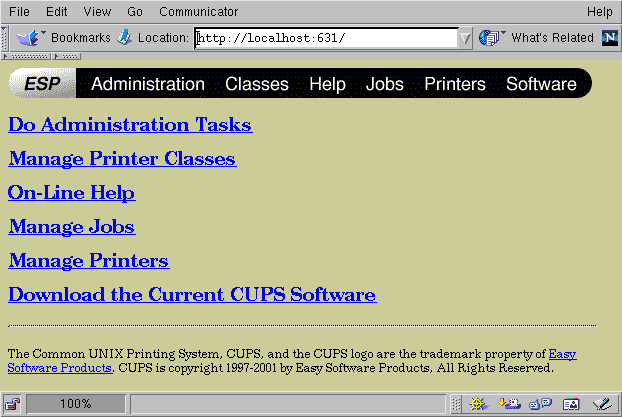
Now, you may click on either the word Printers in the bar at the top of the page, or you may click on the Manage Printers text. In either case, the next screen you see will look like this one if you have not yet configured any printers.
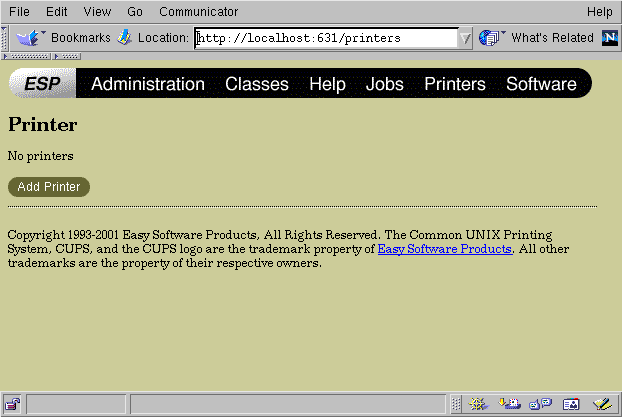
At this time, click on the Add Printer button. You will then see the Admin screen (shown below).
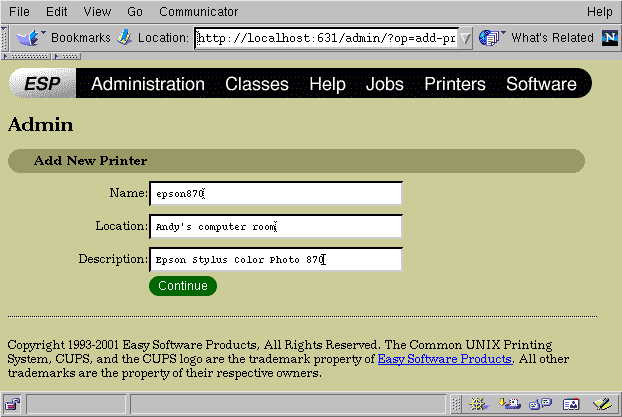
Notice in the screenshot that the three boxes are shown after the author filled them in for his printer at home. You will need to fill in an appropriate name of your printer, its location, and a description which meets your own needs. Once this is done, click on the Continue button, and then this screen will appear.
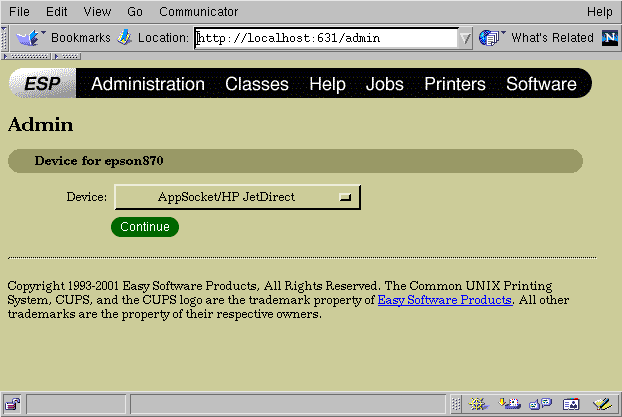
Click on the drop down menu next to the word Device and a list of possible printer devices appears. Select the device appropriate for your printer. Note that there are a range of serial, parallel, USB, and other devices from which to choose. Once the selection is made, click the Continue button. Now, this screen appears.
| Caution Regarding USB Printers |
CUPS versions 1.1.11 and later REQUIRE the user to insure that the desired USB printer is powered on AND physically connected to the USB bus BEFORE starting the CUPS software. CUPS must see the USB printer when the software starts. The CUPS software is typically started when the computer boots. Note that one cannot simply plug in the USB printer and power it on after CUPS has started. (Note that this does not apply to parallel port printers). If the USB printer was not connected and powered on at the time CUPS was started, there will not be a USB printer shown in the list of devices on the CUPS Admin Device Window (see Figure 3-4). In this event, stop the CUPS software, properly connect and power on the USB printer, and restart the CUPS software. From the list of devices shown in the CUPS Admin Device Window (see Figure 3-4), a clever user might attempt to avoid this issue by selecting Internet Printing Protocol and then enter something similar to 'usb:/dev/usblp0' in the next screen. However, this fails later in the configuration process with a "client_error_not_possible" error message with no other explanation. Note that entering 'file:/dev/usblp0' will not work either. While CUPS will allow this, printing will not actually work in some situations. CUPS versions 1.1.10 and earlier exhibit similar behavior with regard to not displaying the USB printer if it was not connected to the USB bus and powered up prior to starting the CUPS software. However, these versions of CUPS will indeed allow the user to enter the name of the USB connection, unlike versions 1.1.11 and later. |
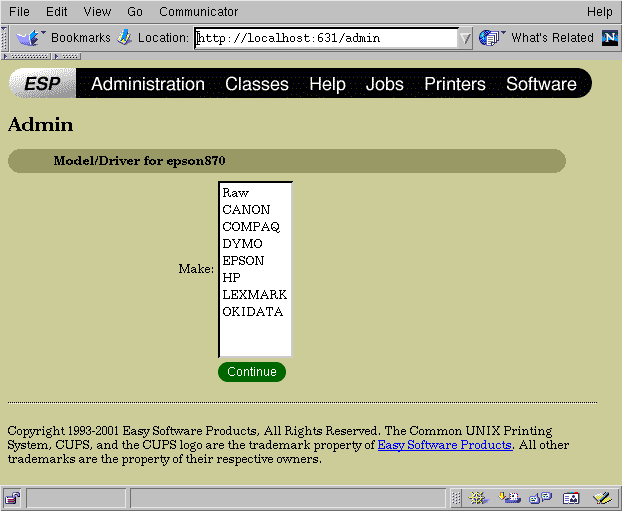
Select the manufacturer of your printer and click the Continue button. A window will appear which asks you to select the specific model number for your printer.
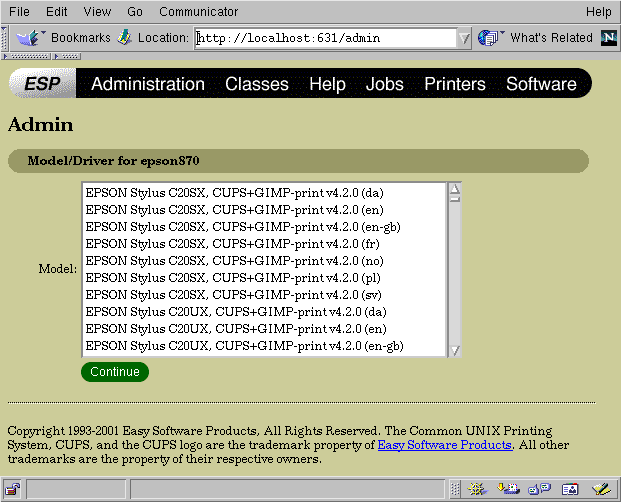
Scroll through the long list and find the model number for your printer. Notice carefully that there are many different languages supported for each printer, as denoted by the initials in parenthesis. (en) would be for English, (da) for Danish, (sv) for Swedish, (fr) for French, (no) for Norwegian, (pl) for Polish, and (en_GB) for British English (see Figure 3-6). Also take note of the Gimp-Print revision for the driver, and ensure that it is indeed the version of Gimp-Print which you have most recently installed. Once you have made the proper selection, click on the Continue button.
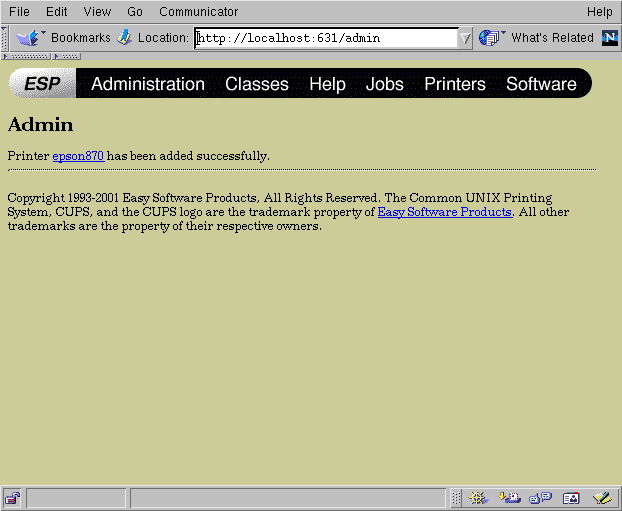
Congratulations! You should now see the CUPS window indicating that your printer was successfully installed. Notice the sentence which reads "Printer your_printer has been added successfully". Click on your_printer, which will be the underlined name for your printer.
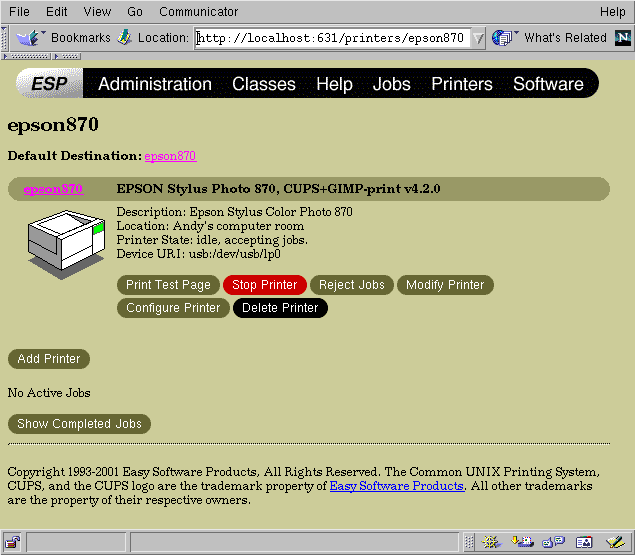
After clicking on your_printer (epson_870 in this example), a window will appear similar to that shown in Figure 3-8. It would probably be a good idea at this point to click on the Print Test Page button to ensure that everything is working properly. Take note of the Gimp-Print revision printed on this screen and confirm once again that it is the expected revision.